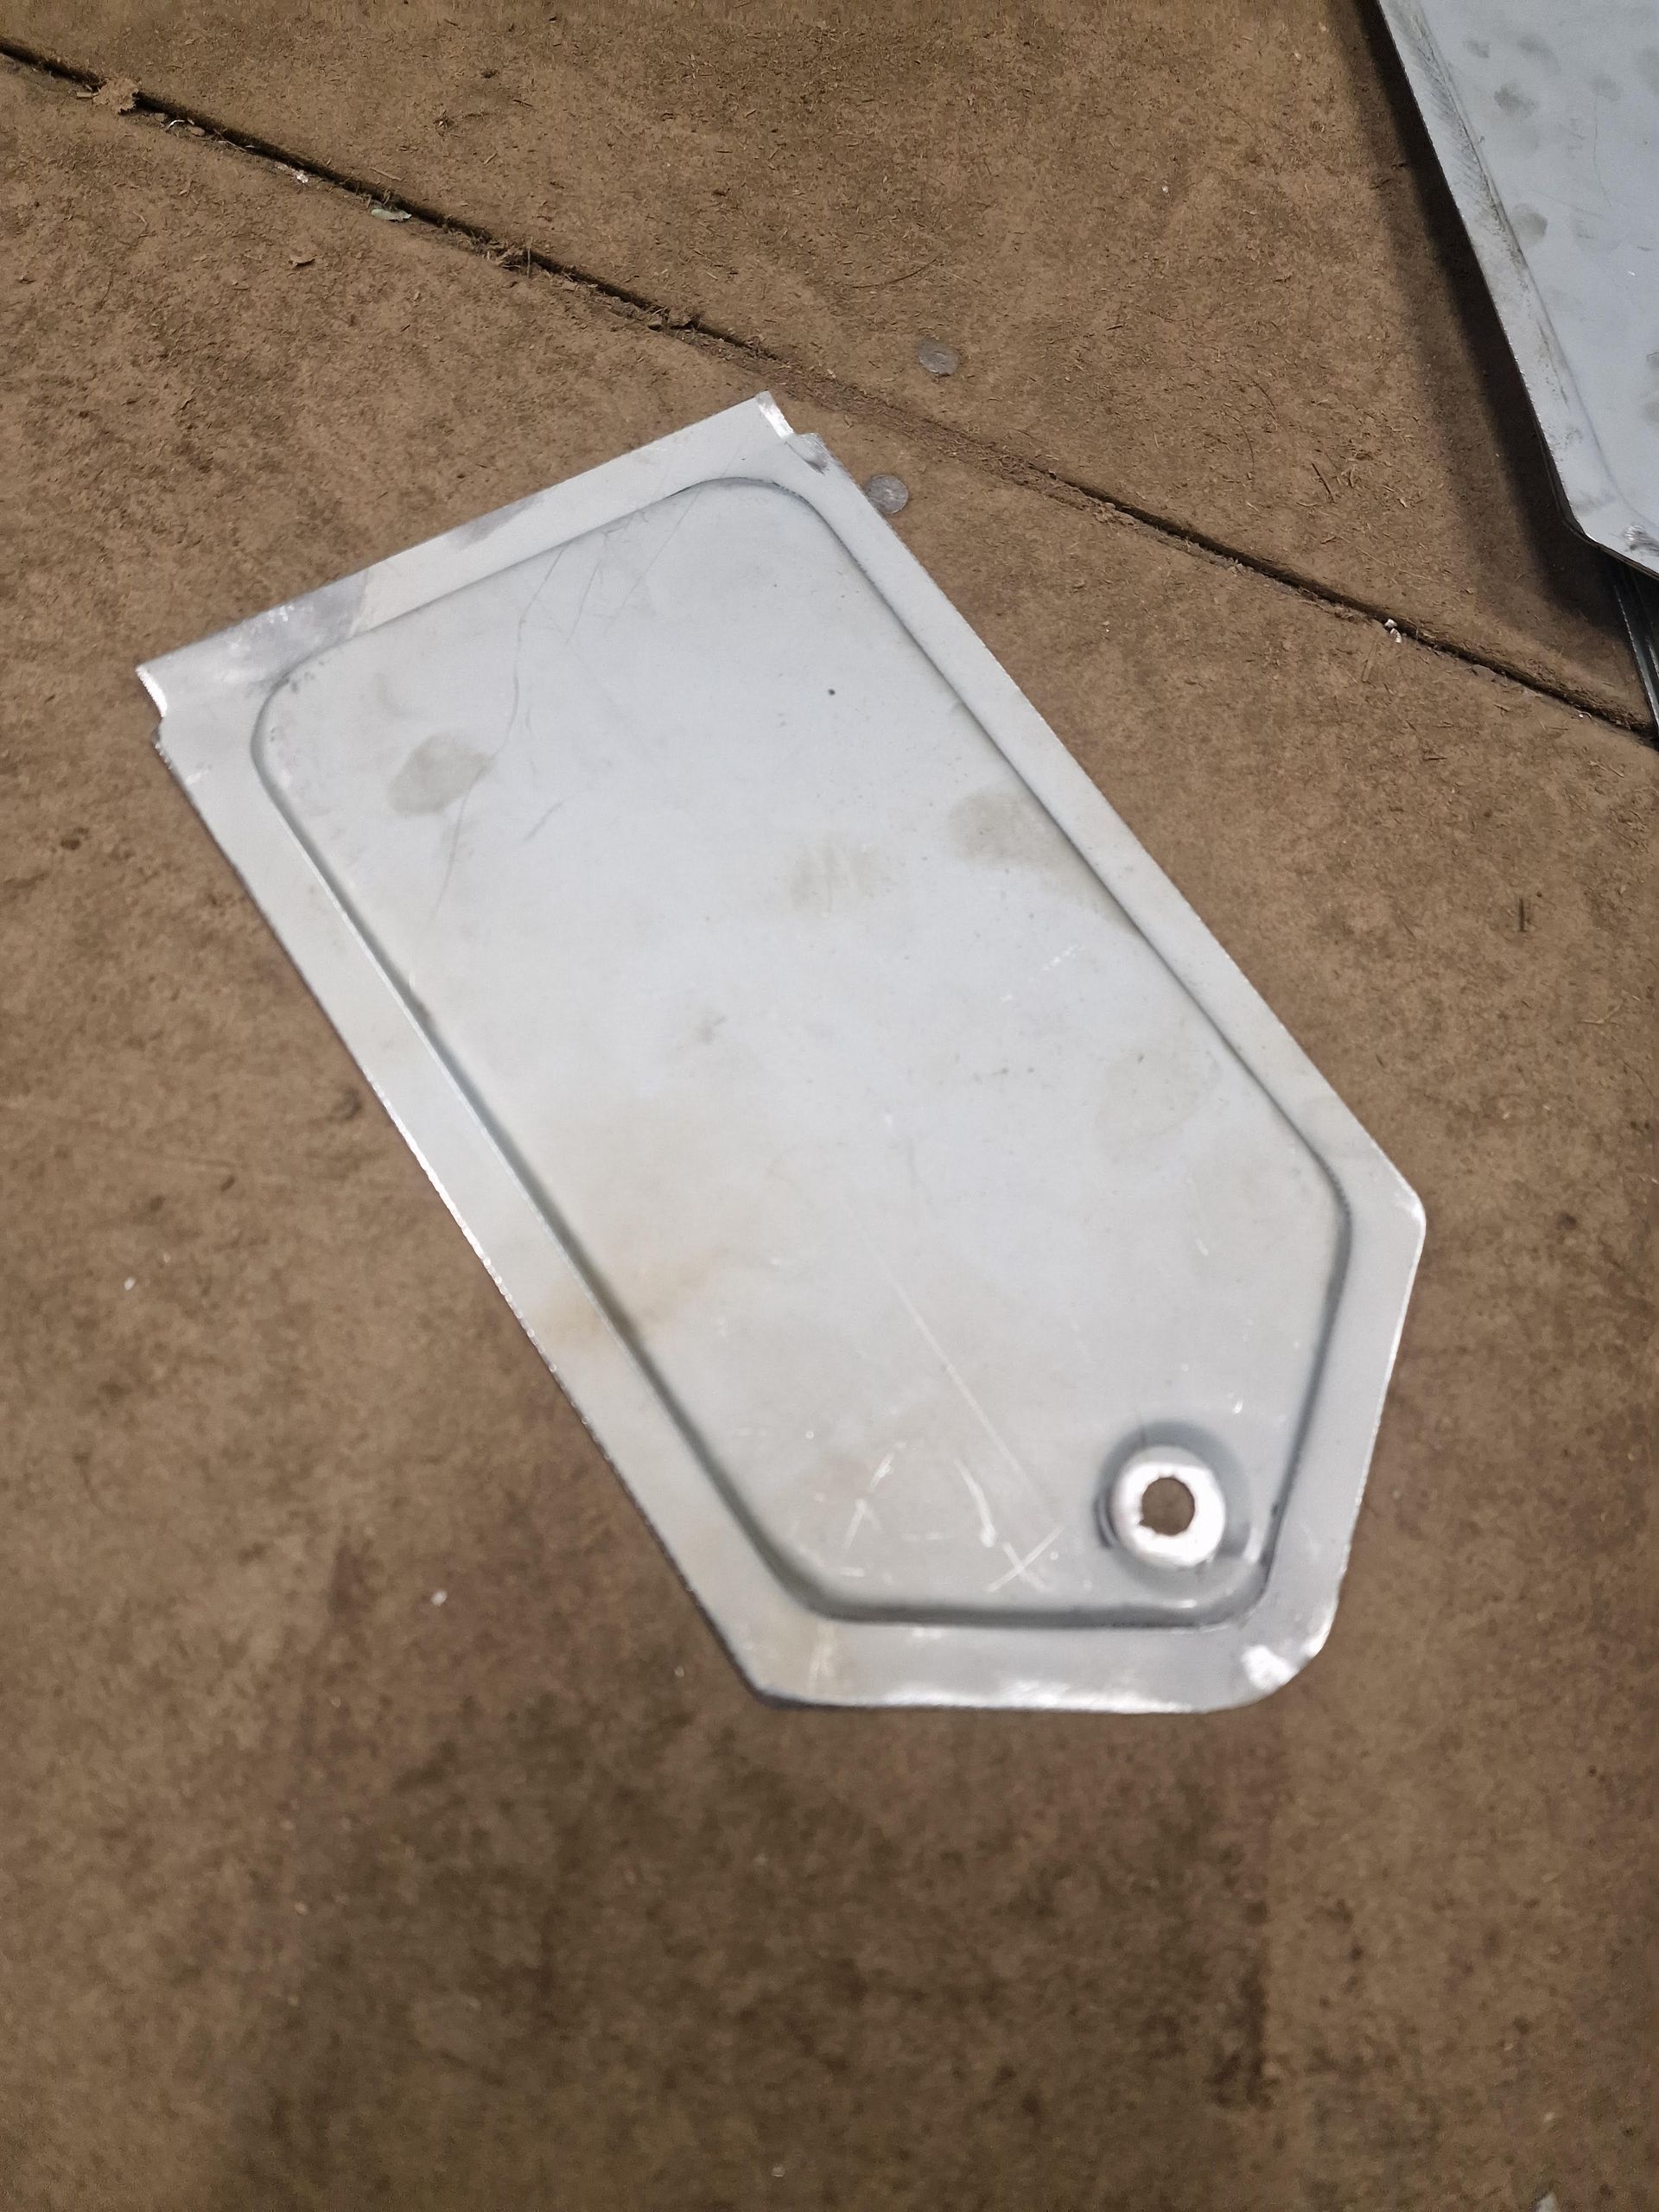
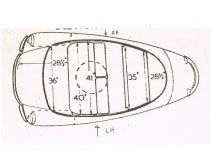
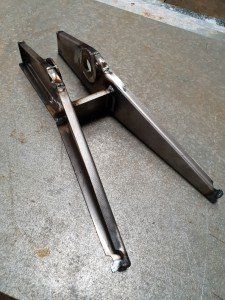
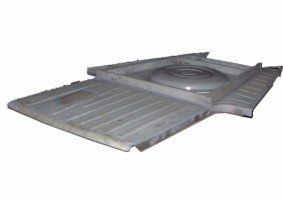
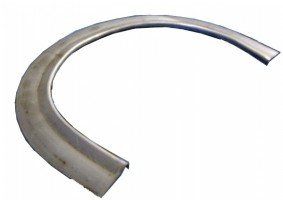
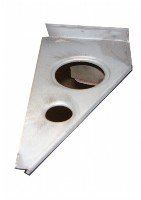
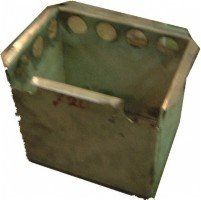
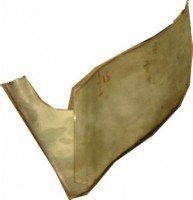
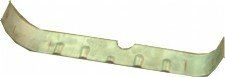
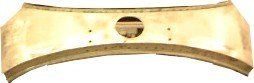
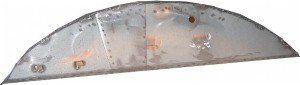
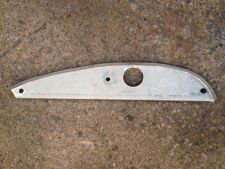
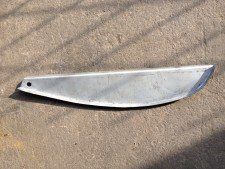
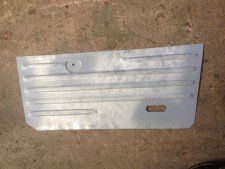
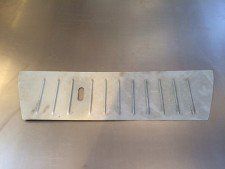
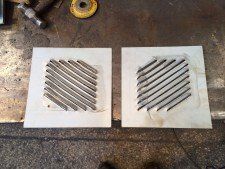
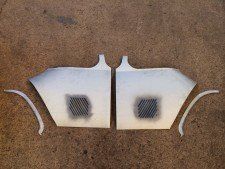
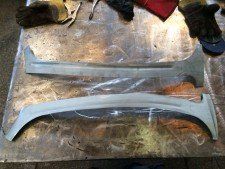
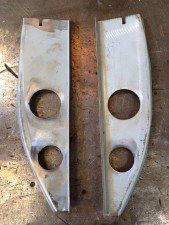
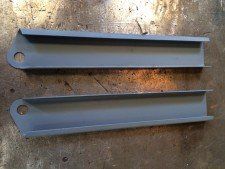
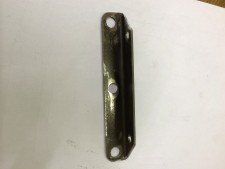
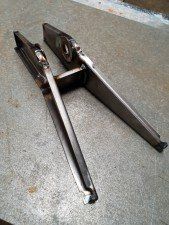
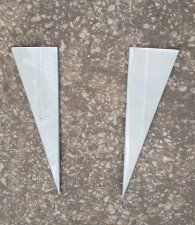
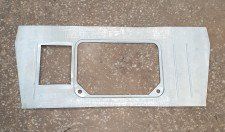
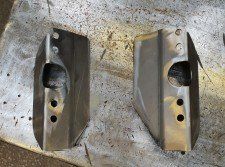
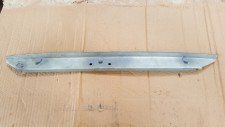
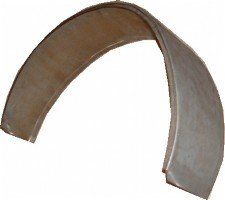
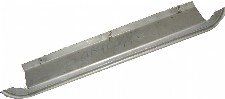
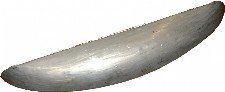
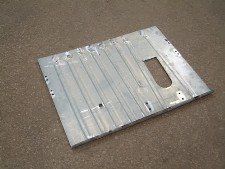
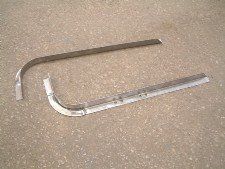
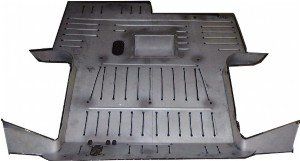
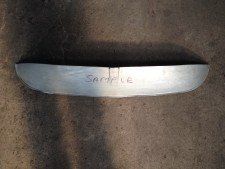
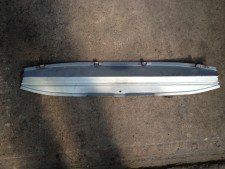
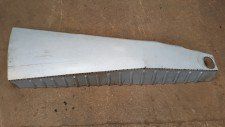
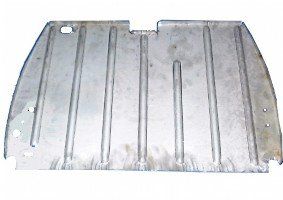
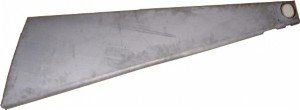
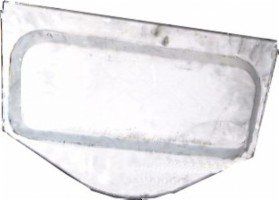
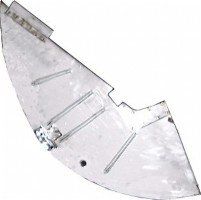
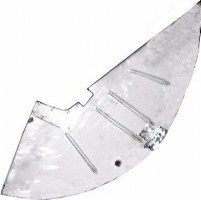
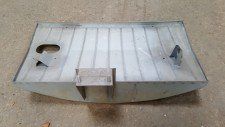
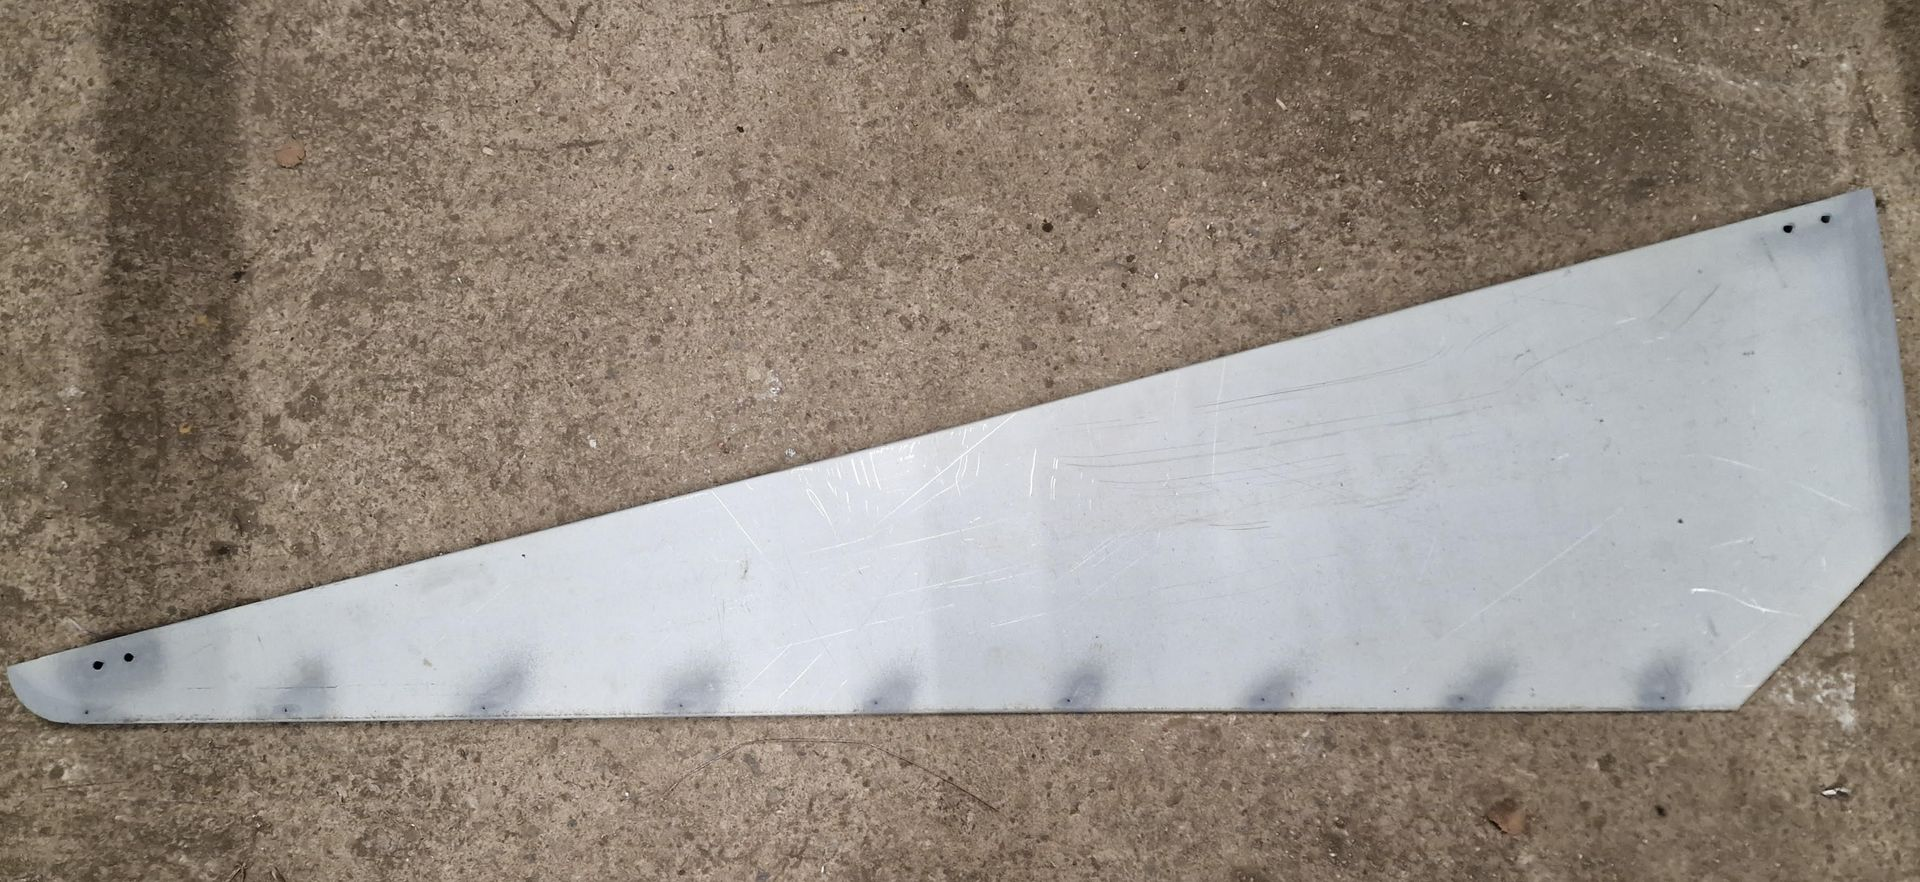
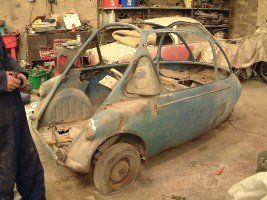
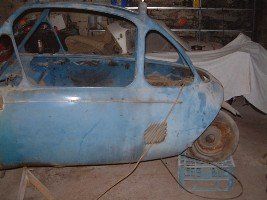
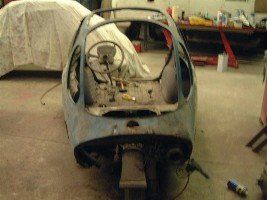
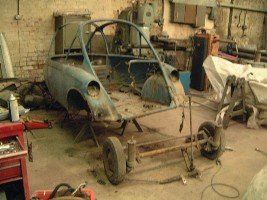
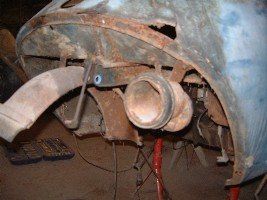
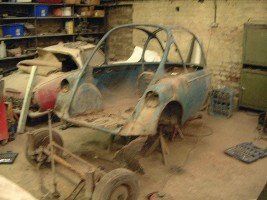
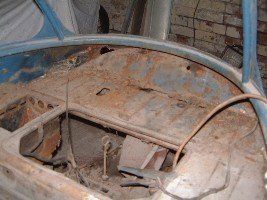
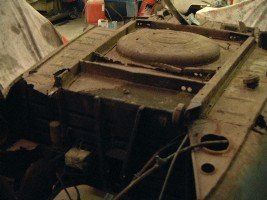
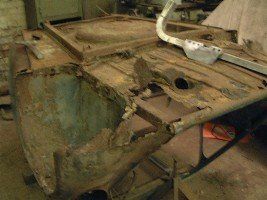
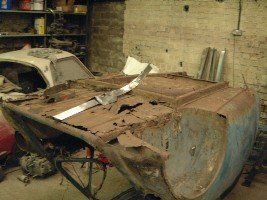
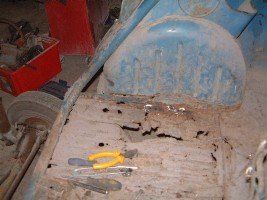
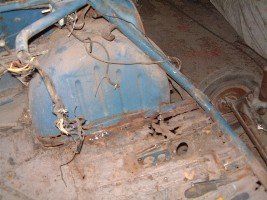
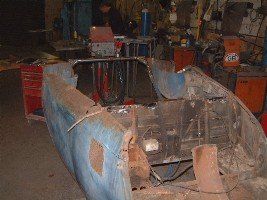
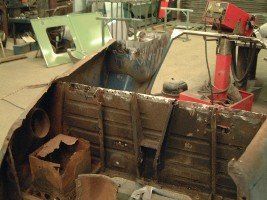
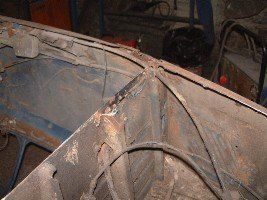
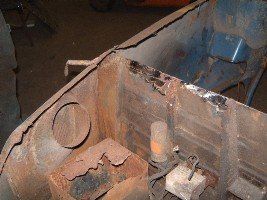
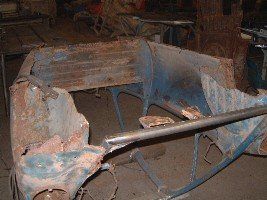
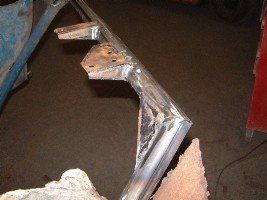
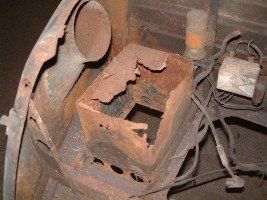
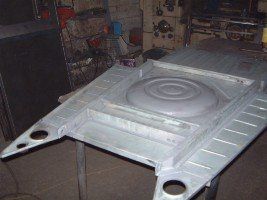
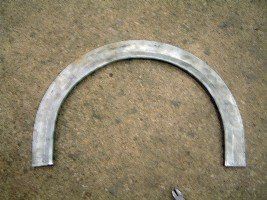
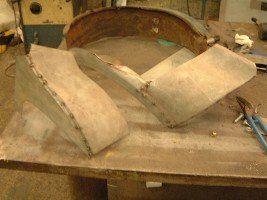
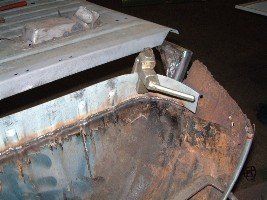
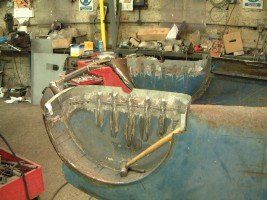
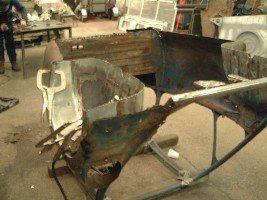
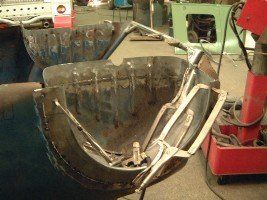
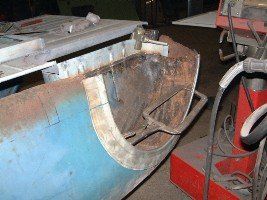
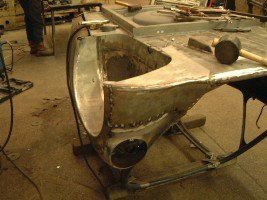
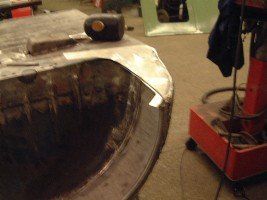
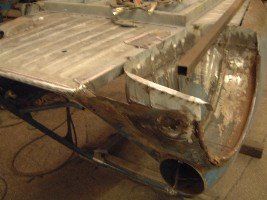
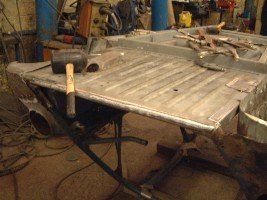
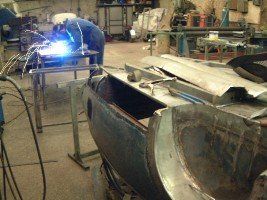
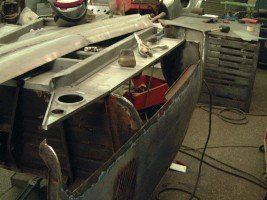
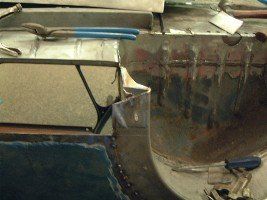
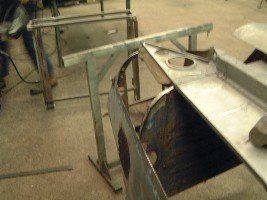
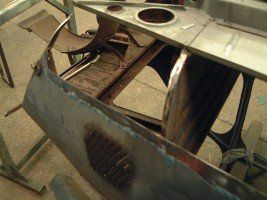
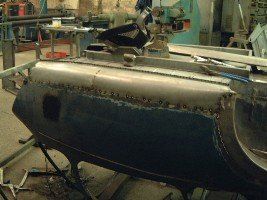
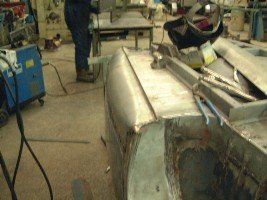
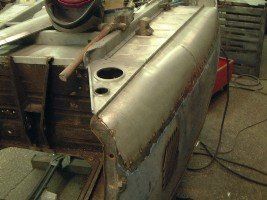
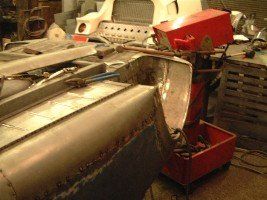
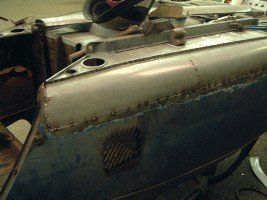
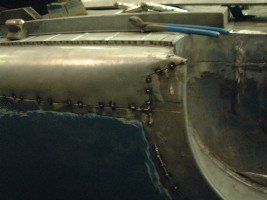
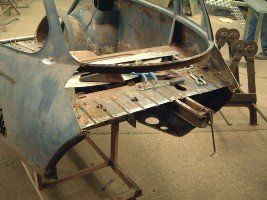
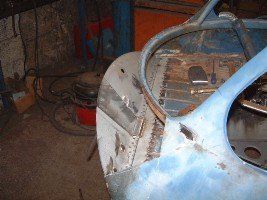
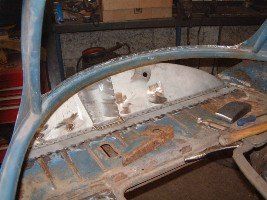
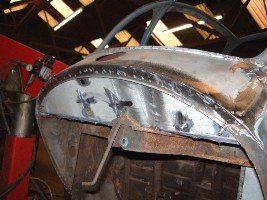
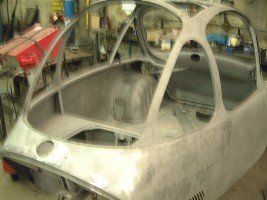
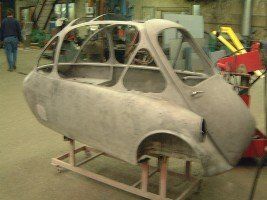
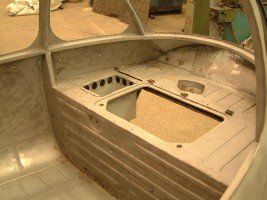
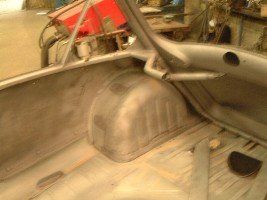
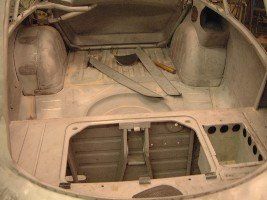
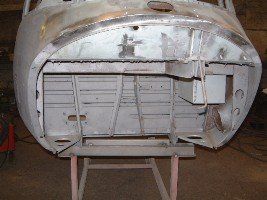
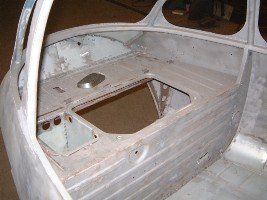
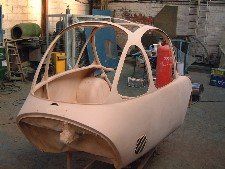
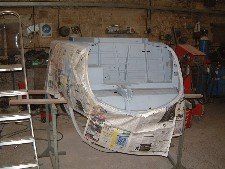
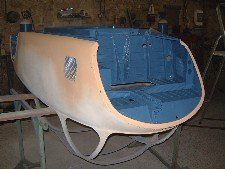
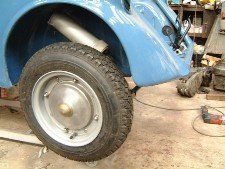
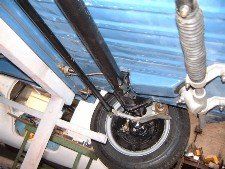
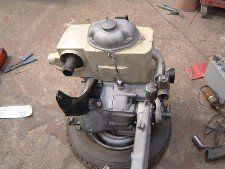
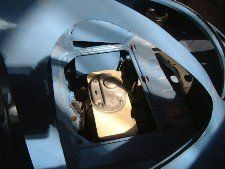
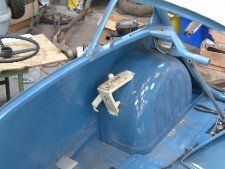
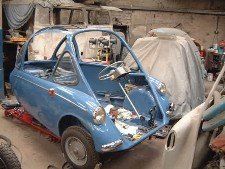
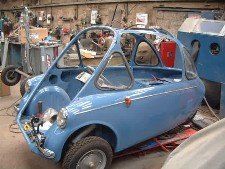
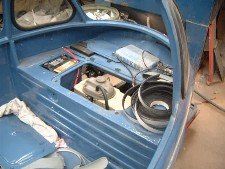
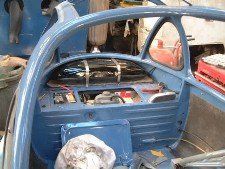
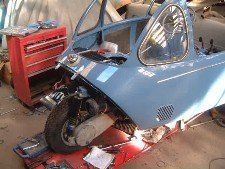
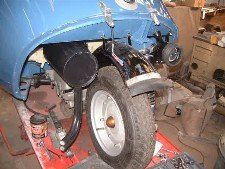
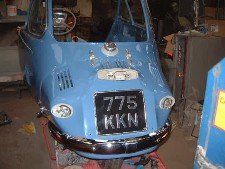
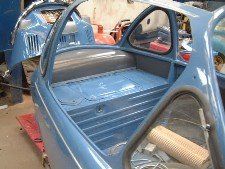
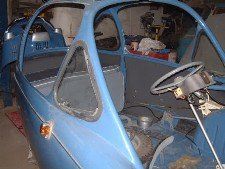
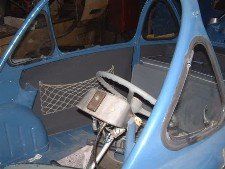
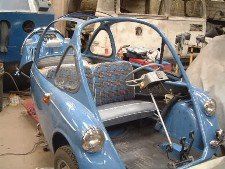
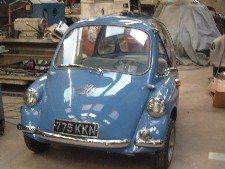
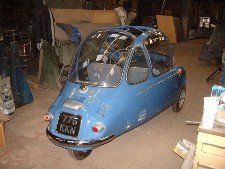
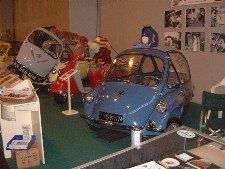
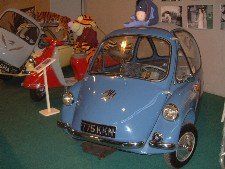
A Heinkel Trojan restoration from Jim's Micro Cars
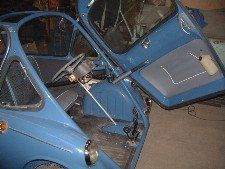
Here you can see the full restoration journey of this little princess. Contact us
for more information about our projects or to source Heinkel Trojan parts for your own vehicle. We're based in Ravensthorpe, West Yorkshire.


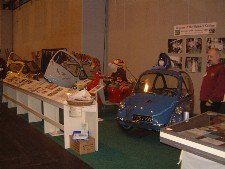
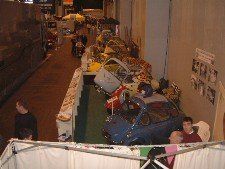

View more